-40%
10 Pck Peel and Stick Backsplash Tiles Wall Stickers Self Adhesive Wall Tiles
$ 2.63
- Description
- Size Guide
Description
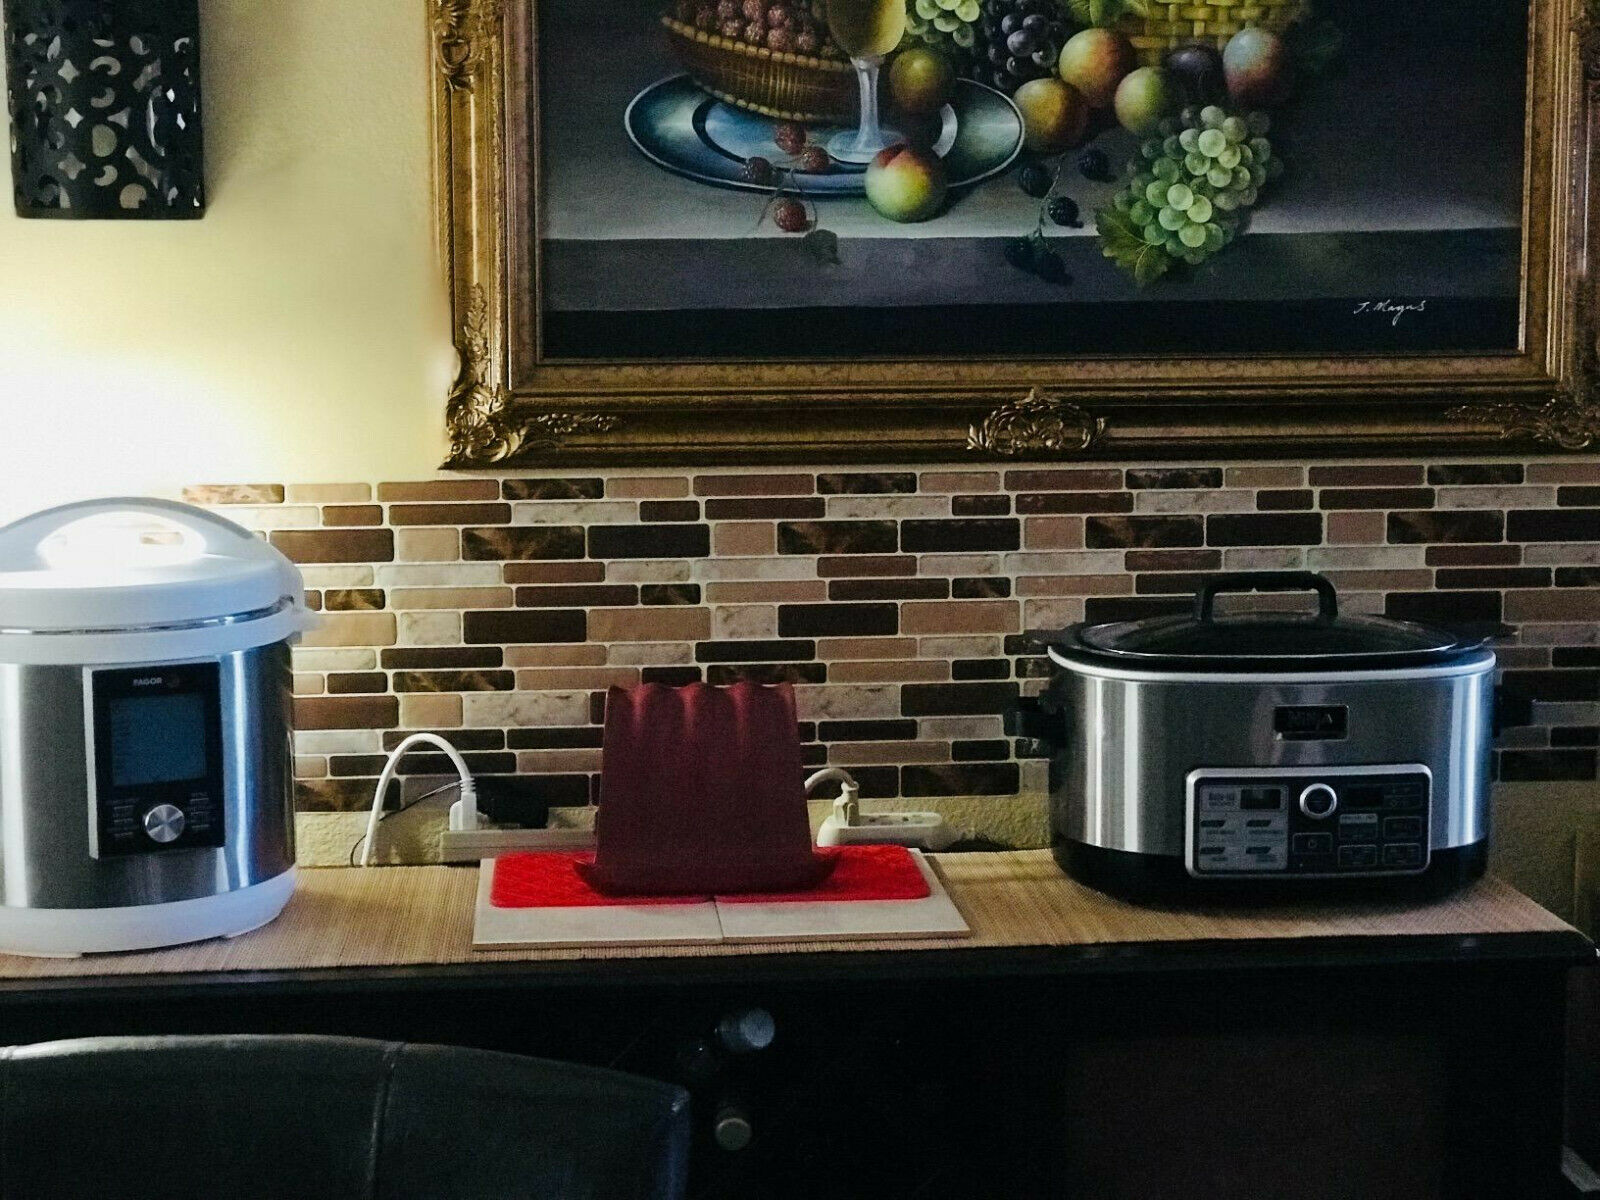
Easy DIY peel and stick tile concept of mosaic sticker tile is made of an adhesive substrate topped with a gel component called epoxy resin, the embossed 3d epoxy resin offers stunning visual impact. the tiles are thin and light, they can be installed in minutes over a clean and sleek surface without any mess or specialized tools, and never crack with time.Bathroom backsplash wall tile is also an economic wall covering material, if you are getting tiled of the same design, just peel them off and change a new style. Art3dTM mosaic sticker offers veracious collections to meet you different taste.Bathroom backsplash wall tiles are lightweight, easy to handle, cut and maintain, they will remain on your walls for as long as you wish them to be. The tiles can also be easily installed directly over existing panels or smooth surface. Especially designed for kitchen backsplashes and bathroom backsplashes, the tiles are resistant to the heat of stovetops and the humidity of bathrooms (do not use in shower).3D Effect-The embossed 3D PU gel provide you with strong 3D visual effect and the adhesive substratum can stick firmly on the wall
Safe and Stylish-Made of Eco-friendly material; Proved to be safe for people's health; Non-toxic; Anti-bacterial; Anti-mold; Heat and humidity resistant
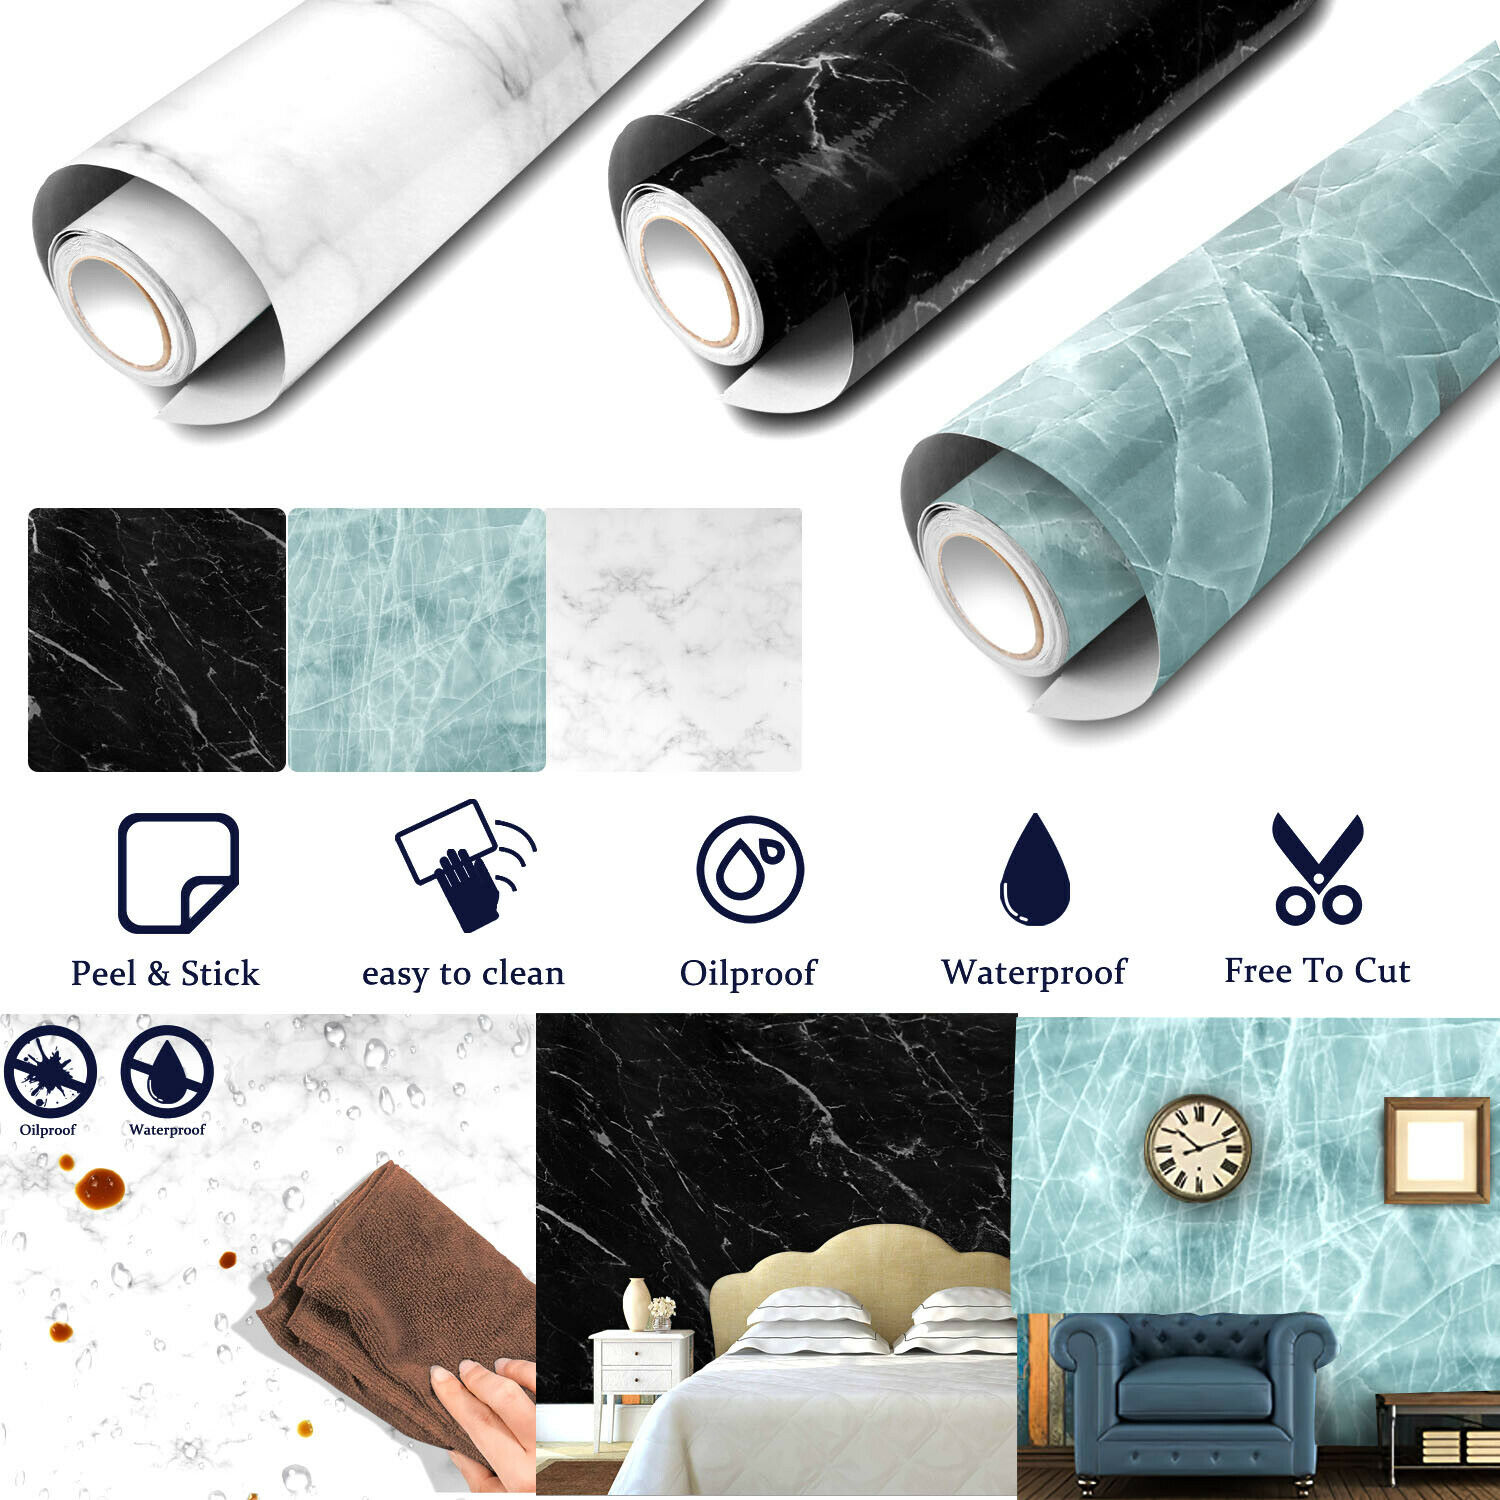
Apply Easily-No grout; No mess; Simply measure, cut (if necessary), peel and stick on any smooth, clean and non-porous surface
Smart Dresser-Suitable for your kitchen (mostly backsplash) and bathroom (do not use in shower), or any smooth surface you wish to change into stylish
Size of tile : 12"(L)*12"(W) , P6 for 6sheets, P10 for 10sheets
Easy Do It Yourself
1. Wash the surface and grout lines with a powerful grease remover and wait for it to dry.
2. Measure and mark the self-adhesive backsplash tile.
3. If necessary, cut the peel and stick tiles using a cutter or sharp scissors.
4. Now align and stick the Art3d Tiles at your own pace.
Ideal surfaces to install Art3d Tiles:
- Painted gypsum (after a 21-day curing time for fresh paint)
- Smooth ceramic tile
- Wall panel (acrylic)
- Wall linoleum
- Mirror
- Wallpaper
Kindly Remind
- Tiles should not directly contact with flames, steam or submerse in water. Do not install tiles less than 16 inches away from the top of stove.
-Rough surfaces such as porous wood, embossed ceramic tiles or textured wallpaper are not suitable to install.
- The curing period is 2 days after you install them on your wall (21 days for the freshly painted walls).
- The new arrived peel and stick wall tiles may have little gel smell. The smell will disappear in 2-3 days.
- If you want to remove the tile, you could use a hair dryer to warm up the adhesive and pull softly starting with the corners.Then use a cleaning product to remove the excess glue left by the peel and stick tiles.
Notes:
The wall surface are all in aged paint with loosen debris which is definitely not recommended for direct application.
Please repair the wall by sanding the aged paint and applying a new coat of basic primer first.
And for corner application, it should be sharped by two separate tiles, please do not cover it with one whole sheet!


